Cockpit Basics
Throughout this documentation a host named node63001.local is used as the example host. Substitute that name with your own node's name as it was set during the imaging process.
Logging In to the Web Console
-
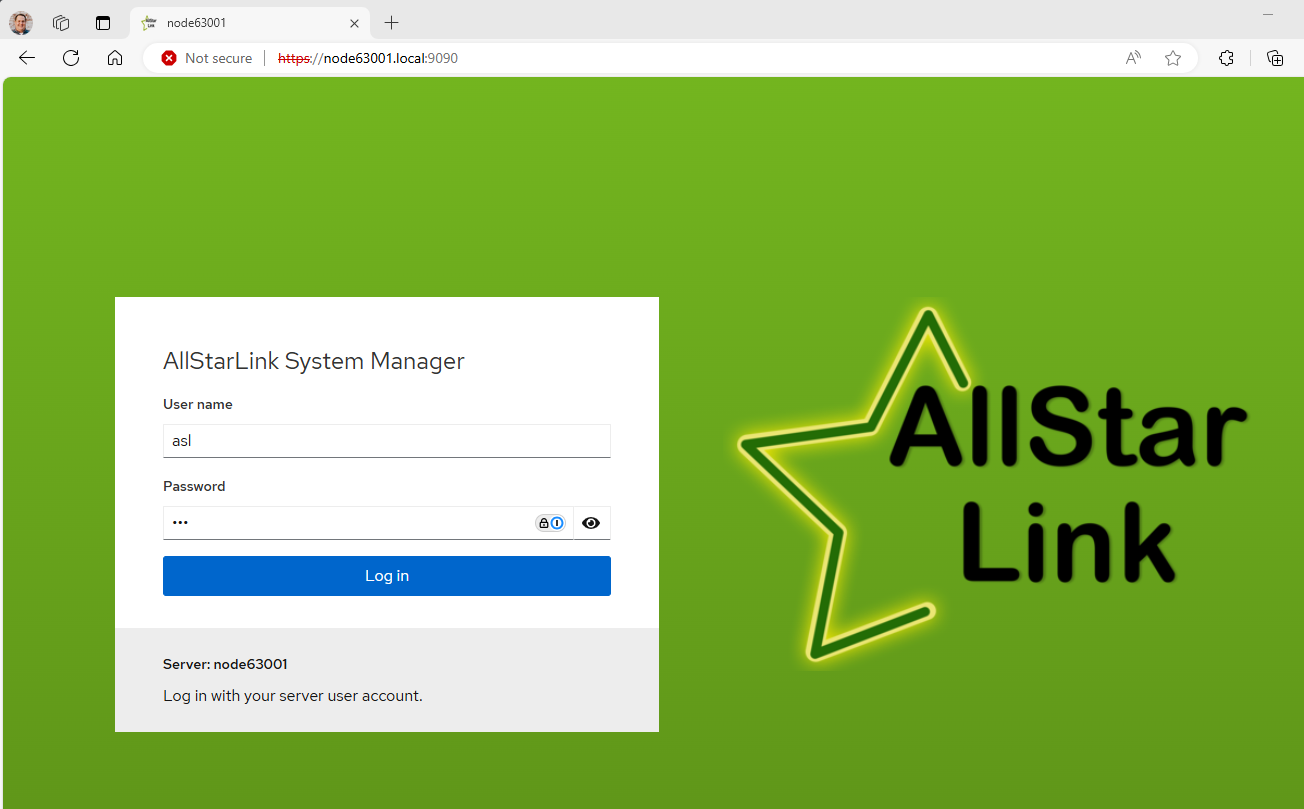
In your web browser, enter the following address to access the web console:
https://node63001.local:9090 -
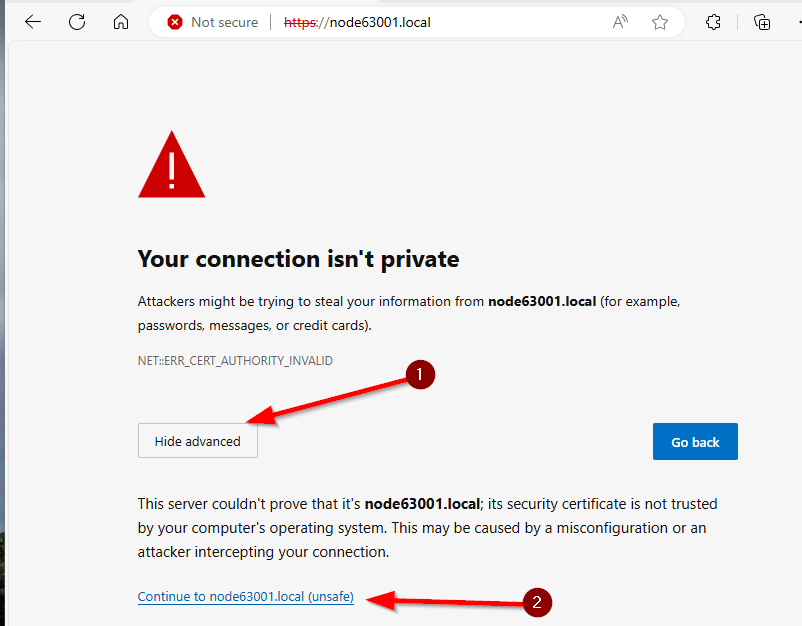
The browser may display a warning. Accept the security exception to proceed with the login
-
Enter the username and password set during the imaging process
-
Click Log In
Administrative Access
The web console has a concept of Administrative access. While it does remember the access level across logins, to access certain functions you may need to enable Administrative access from Limited access.
To do that:
-
Click on the bar marked Limited Access to enable admin-level access.
 You may be prompted to to enter the password again. Do so and then click Authenticate

-
Click Close on the box reporting administrative access has been granted.
Shutting Down the Appliance
You can use the web console to shut down the system.
-
Log into the web console.
-
(optional) Click on the bar marked Limited Access to enable admin-level access.
-
(optional) Click Close on the box reporting administrative access has been granted.
-
Click on the downward arrow next to Reboot and then select Shutdown

-
Change the Delay dropdown to No delay and click Shut down

-
A Disconnected message will appear. The node will shutdown is about 15-30 seconds, after which power may be removed.
Rebooting the Appliance
-
Log into the web console.
-
(optional) Click on the bar marked Limited Access to enable admin-level access.
-
(optional) Click Close on the box reporting administrative access has been granted.
-
Click on Reboot

-
Change the Delay dropdown to No delay and click Reboot

-
A Disconnected message will appear. The node will reboot and be available again in about 15-30 seconds. After that, one can click Reconnect.
Configuring Time on the Appliance
In general, the appliance should be left in the default setting of using the NTP service to automatically set the time. However, you may want to change the timezone. To change the time:
-
Log into the web console.
-
(optional) Click on the bar marked Limited Access to enable admin-level access.
-
(optional) Click Close on the box reporting administrative access has been granted.
-
Click on Overview and scroll down to Configuration
-
Click on highlighted time next to System time
-
Change the Time zone drop-down to the desired zone.
-
Click Change.
NOTE: Some content copied from Managing systems using the RHEL9 web console which is released under the Creative Commons Attribution–Share Alike 3.0 Unported license ("CC-BY-SA")